DIY Sewage Cleaning: Tips and Tricks for a Successful Cleanup

Dealing with sewage issues can be daunting, but with the right knowledge and preparation, you can tackle sewage cleaning as a do-it-yourself (DIY) project. DIY sewage cleaning not only saves you money but also empowers you to take control of the situation. In this user-friendly guide, we will provide you with tips and tricks to ensure a successful cleanup when handling sewage issues on your own.
Safety First:
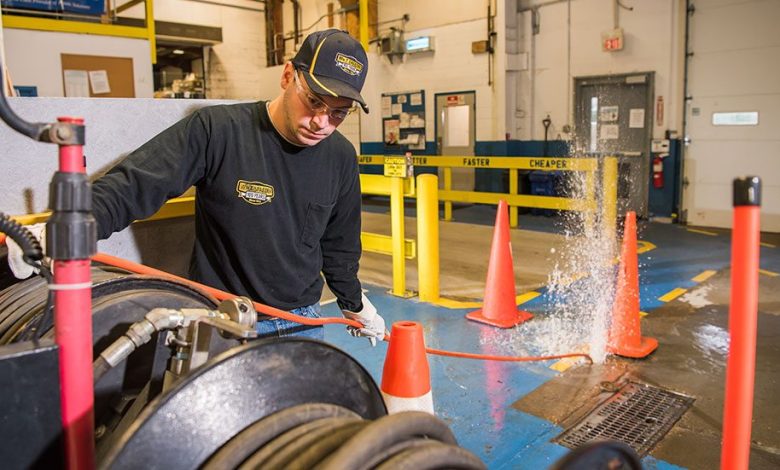
- Before you begin any sewage cleaning, prioritize your safety. Wear appropriate protective gear, including gloves, goggles, boots, and a face mask, to minimize exposure to harmful bacteria and chemicals. Ensure good ventilation by opening windows and using fans, if possible. Keep children and pets away from the affected area to prevent accidents or contamination.
Assess the Situation:
- Assess the severity of the sewage issue before diving into the cleaning process. Determine if the problem is limited to a specific area or if it has spread throughout your property. Identify any visible blockages or leaks and note any potential hazards that may require professional assistance.
Block Off the Area:
- To contain the sewage and prevent further contamination, block off the affected area. Use plastic tarps or barriers to seal off the space. This step helps minimize the spread of odors, bacteria, and potential damage to unaffected areas. Place warning signs to ensure others are aware of the restricted zone.
Remove Standing Water:
- If there is standing water present, use a wet-dry vacuum or a pump to remove it. Be cautious not to vacuum up solid debris that could damage the equipment. Dispose of the extracted water in a toilet, sink, or designated drain, ensuring it flows into the sewage system.
Clean and Disinfect:
- Once the standing water is removed, it’s time to clean and disinfect the affected surfaces. Use a mixture of hot water and a mild detergent to scrub the area thoroughly. Focus on walls, floors, and any other surfaces that came into contact with sewage. Rinse the area with clean water and follow up with a disinfectant specifically designed for sewage cleanup. This step helps eliminate bacteria and neutralize odors.
Dry and Ventilate:
- After cleaning, ensure the area is thoroughly dried. Use fans, dehumidifiers, or natural ventilation to accelerate the drying process. Proper ventilation is crucial in preventing mold growth and improving air quality. Monitor humidity levels and ensure the area is completely dry before proceeding.
Dispose of Waste Properly:
- Dispose of any solid waste, cleaning materials, and contaminated items in sealed plastic bags. Check local regulations for guidelines on proper disposal of sewage-related waste. Avoid throwing waste into regular household trash bins to prevent potential health and environmental risks.
Monitor for Lingering Issues:
- Keep a close eye on the affected area after the cleanup to identify any lingering issues. Watch out for recurring odors, slow drains, or signs of leaks. If problems persist or worsen, it may be necessary to seek professional help to address underlying issues in the sewage system.
Prevention is Key:
- To prevent future sewage issues, practice proper maintenance and care. Avoid flushing non-biodegradable items, grease, or chemicals down the drain. Regularly inspect and maintain your sewage system, including grease traps and drain covers. By taking preventive measures, you can minimize the likelihood of encountering sewage problems in the future.
Conclusion:
With the right precautions and knowledge, DIY sewage cleaning can be a successful endeavor. Prioritize safety, assess the situation, block off the area, remove standing water, clean and disinfect, dry and ventilate, dispose of waste properly, and monitor for lingering issues. Remember, prevention is key to avoiding future sewage problems. By following these user-friendly tips and tricks, you can effectively handle sewage cleanup on your own and restore a clean and healthy environment in your home or property.


