Ever watched a pro peloton and wondered why some riders’ feet seem to “work” the pedals differently? Or felt a nagging knee or calf issue and suspected your foot motion might be part of the problem? If so, you’re in the right place. In this post we’ll answer the simple question: what is ankling in cycling, why it matters, and how to add the movement into your training safely and effectively.
What Is Ankling in Cycling?
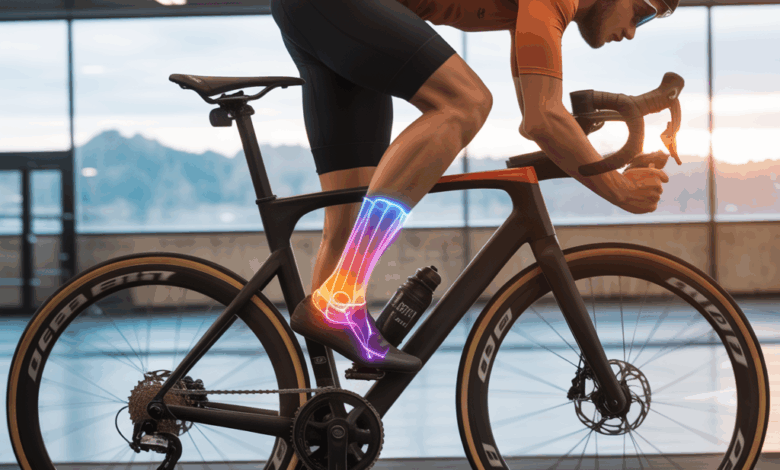
Ankling in cycling refers to a subtle, controlled movement of the ankle during the pedal stroke — typically a small up-and-down or rolling motion that complements hip and knee action. It’s not exaggerated ankle flapping; it’s a smooth plantarflexion and dorsiflexion at the bottom and top of the stroke, respectively. In short, ankling helps guide the foot through the pedal circle and can improve power transfer, pedaling efficiency, and comfort when done correctly.
Common descriptions and synonyms
- Foot rocking or foot rolling
- Controlled ankle flexion/extension
- Pedal stroke ankle articulation
Why Ankling Matters for Cyclists
Understanding and applying an effective ankling technique can make a surprising difference. Here’s why many coaches and experienced riders emphasize it:
- Improved pedaling efficiency: Ankling helps smooth the transition from the downstroke to the upstroke, reducing dead spots and improving cadence consistency.
- Better power transfer: By matching ankle motion to the pedal arc, you maintain optimal foot position for force application.
- Reduced knee and calf strain: Small, controlled ankle movements can distribute load more evenly across muscles and joints.
- Comfort on long rides: Ankling can help riders maintain a natural rhythm and avoid rigid foot placement that leads to hotspots or numbness.
Ankling vs fixed-ankle pedaling
Some riders keep the ankle relatively fixed, relying on hip and knee action alone. While that’s fine for short efforts, adding light ankling can enhance efficiency for longer rides and technical cadences. The key word here is light — exaggerated ankle movement wastes energy and may cause injury.
How to Ankling: Technique and Drills
Start slowly and focus on feel. Here are practical steps and drills to integrate ankling into your cycling skillset.
Basic technique cues
- Think of your foot as a lever: allow a small plantarflexion (toes pointing down) through the mid-downstroke and a small dorsiflexion (toes lifting) at the top.
- Keep the motion smooth and minimal — about 5–10 degrees of ankle travel is enough for most riders.
- Coordinate with your hips and knees: don’t isolate the ankle. Ankling complements the larger muscle groups.
- Keep high-cadence drills comfortable before adding resistance; heavy force with exaggerated ankling leads to overuse.
Drill 1 — Single-leg pedaling (unloaded)
- On a turbo or trainer, unclip one foot and pedal with the other at an easy cadence (60–90 rpm).
- Focus on rolling your foot and feeling the ankle guide the pedal through the dead spot at the top and bottom.
- Do 2 sets of 30–60 seconds per leg.
Drill 2 — High-cadence smoothness
- Warm up, then spin at an elevated cadence (100–110 rpm) with light resistance.
- Concentrate on small ankle movements that smooth the pedal circle rather than forcing power.
- Repeat 4–6 intervals of 1–2 minutes with easy recovery between.
Drill 3 — Cadence and resistance progression
Once comfortable, add brief power surges (20–30 seconds). Maintain ankling cues as you increase wattage. This helps integrate the movement into real-world situations like climbs or sprints without losing efficiency.
Workout Variations Incorporating Ankling
Here are sample workouts that blend ankling practice with fitness goals — suitable for commuters, road cyclists, and triathletes.
- Endurance ride with ankling focus: 2–3 hour ride; every 20 minutes spend 5 minutes practicing high-cadence ankling at 100 rpm.
- Interval session: Warm-up 15 min; 6 x 3 min at threshold with 3 min recovery. During recovery, include single-leg pedaling and ankle mobility.
- Commute tune-up: 30–45 min route; stand-and-sit repeats on climbs while keeping ankle soft and responsive to reduce knee load.
Healthy Lifestyle Tips to Support Ankling and Pedaling Health
Technique alone won’t fix muscle imbalances or frequent pain. Combine ankling practice with these lifestyle tips:
- Mobility work: Daily ankle mobility drills and calf stretches to maintain range of motion.
- Strength training: Include single-leg squats, calf raises, and hip stability work twice weekly to support the pedal stroke. See our workout routines for structured plans.
- Nutrition and recovery: Fuel rides properly, prioritize protein and carbs after sessions, and follow recovery principles in our nutrition guides.
- Footwear and cleat position: Ensure shoes fit well and cleats are adjusted to avoid forced ankle angles.
- Cross-training: Walking, swimming, or yoga can enhance ankle mobility and overall resilience — explore more in our wellness tips.
Real-World Examples: Riders Who Use Ankling
Pro riders often demonstrate subtle ankling during long climbs and high-cadence efforts. Recreational cyclists can benefit too:
- A commuter who added ankling drills reported reduced calf soreness and smoother hill efforts within weeks.
- A triathlete integrated single-leg pedaling to correct an asymmetry and found improved bike-run transition comfort.
- An endurance rider used ankling cues during multi-hour rides to reduce knee pain and maintain cadence consistency.
Frequently Asked Questions
Proper ankling should not hurt your knees. When done correctly — small, controlled ankle motions coordinated with hips and knees — it can reduce joint stress. If you experience pain, stop and reassess form or consult a coach or clinician.
Very little — typically 5–10 degrees of dorsiflexion/plantarflexion. The goal is smoothness, not exaggerated motion. Think of ankling as a subtle rhythm adjustment rather than another source of power.
Ankling can be practiced on both. Clipless pedals help maintain consistent foot alignment, which often makes ankling easier to learn. On flat pedals, emphasize balance and foot placement to avoid slipping.
Conclusion — Try Ankling on Your Next Ride
So, what is ankling in cycling? It’s a small, intentional ankle motion that smooths the pedal stroke, improves efficiency, and can reduce joint strain when practiced correctly. Start with light drills, pair technique work with strength and mobility, and gradually integrate ankling into real rides. Ready to try it?
Call to action: On your next ride, spend one warm-up block practicing single-leg pedaling and high-cadence ankling. If you liked this guide, check out our workout routines and nutrition guides to support your cycling progress — then come back and tell us how it’s going.